Showing posts with label buttons. Show all posts

Thursday, October 17, 2013

Product Update - Little Letters and a Pineapple

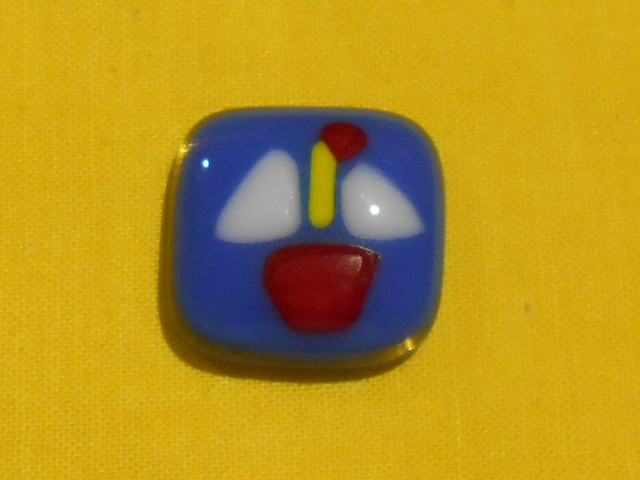
I have made a pair of little letter earrings, a pin brooch and a pendant or charm.  The pale colour is close to the real look. It is called almond.


My partner is so good at cutting out the silhouettes. Every time he makes one I just want to have it. His latest is the pineapple. What a beauty!


Follow the blog to see new and matching items. The post title will start with 'Product Update'

Cheers,
Val

Thursday, October 10, 2013

I love making things that match

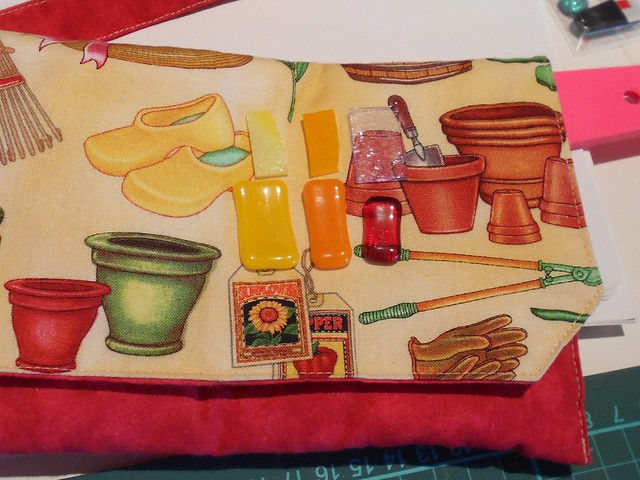
I needed to do another trial with my almost full fuse. I made a cute wallet that needed a button and zipper pull so I tried to match up the colours in the fabric using the glass that I had. Even though the striker pink seems to match the red colour in the wallet I had a couple of other buttons with that pink and it didn't quite match. The only colours that came close were the yellow and orange. I so want to buy some more colours.

I am making up sample pieces for each colour.

I do love the way the yellow and orange look when fused. They are both opalescent and I put them on plain clear.


I clean each piece and lay it on a cardboard tray.
The glue the pieces to the base with Hotline warm glass adhesive.
I let it dry overnight.
I also had the urge to make a pendant and earrings to go with my new singlet top so I used my favourite blue and the striker pink, both transparent. I put them on a white base.


I will finish them off and wear them to the Brisbane craft and quilt show next week.

The firing schedule I used was one I used before but I think maybe it is not quite hot enough. I am trying to get as square a finish as possible for my quilt block items. Maybe I will just have to embrace the soft edge look. 780 and hold for 10 mins was not enough to make the layers meld together at the edges so it spoils the line of the pendant on the clear backing. The one on the white backing seemed fine.

Summary

  • Bullseye yellow O 0220 and orange O 0025 look great together
  • Bulleye blue T 1116 and striker pink T 1215 need yellow or green to set them off.
  • 780 hold for 10 mins fuses three layers with white base
  • 780 10 min hold doesn't fuse layers so well with plain clear base

Wednesday, July 31, 2013

More experimentation

I was really pleased with the boat.


This was done on program 1 forming at 804 C. The stringer has doubled in width and the shapes have stayed fairly true.


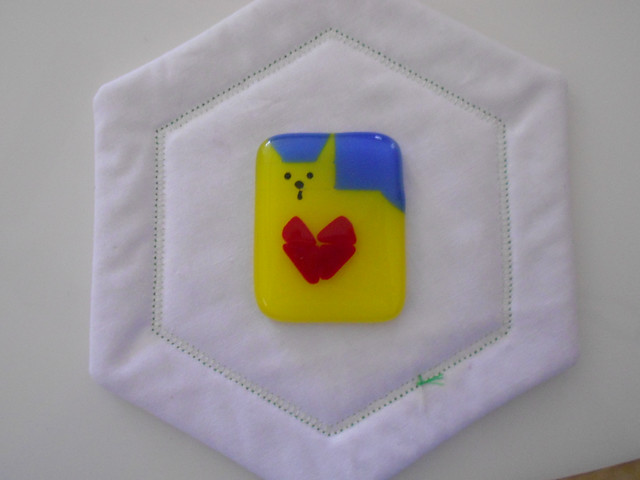
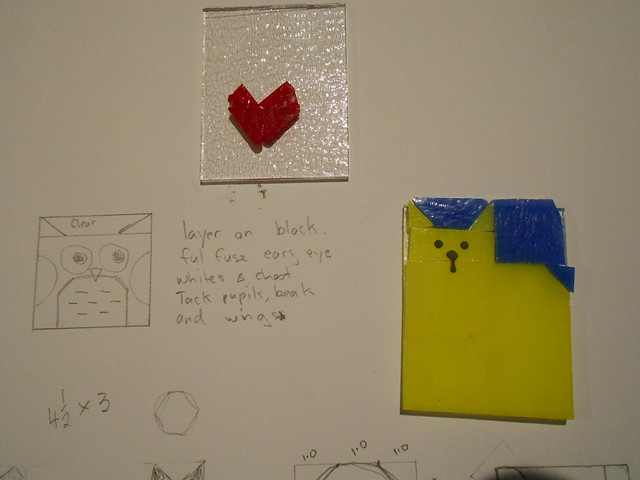
The heart on top of the cover glass moved apart like continental drift. It would be better to put it on the cat with a glass paint outline perhaps. Where the pieces touch for the head and ears there was a distinct line left. I thought they would blend more like the lines between the blue and the yellow. The size is too big. 4 cm x 5cm. 3cm x 4cm might be OK.


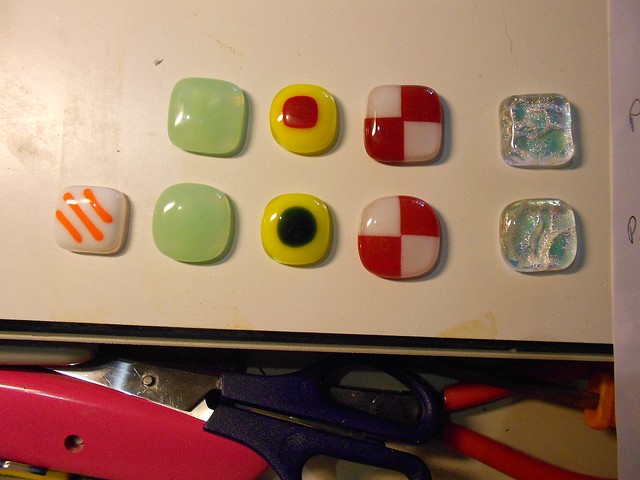
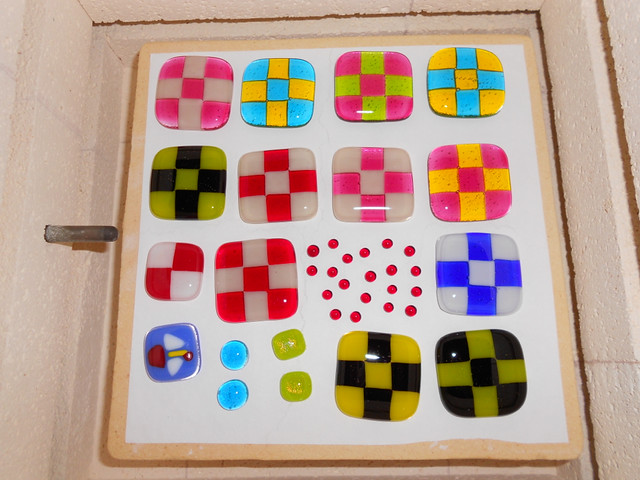
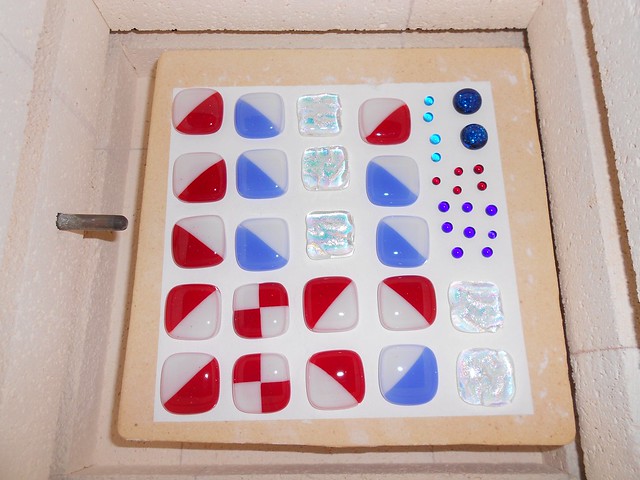
The top row is program 1 (804). The bottom row is program 3 (825).
In the top row we like the red and white button and the crystal button. In the bottom row we like the green button and the eye. The stringers are 3 times wider and would probably look better at 804 C. The white glass square held it shape at 825 C. It seems much harder to melt than the other colours.


We have been making lots of 9 patch pendants to see which colours look best.


Saturday, July 27, 2013

Making buttons

We seem to have a good firing schedule with a bubble squeeze, an equalizing step and after forming a fast cool and a slow cool before turning off to cool completely overnight. It is the same as the original program 1 but we turn off at 371 C.

We did another batch of buttons once we decided we liked them.


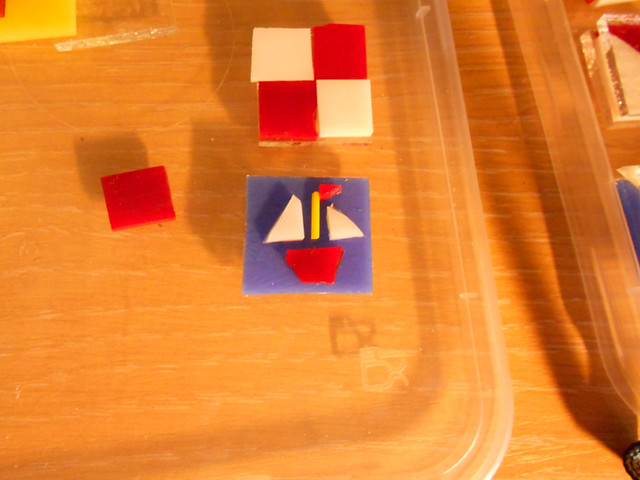
I have started making some designs to fit on small pieces without getting too small. Though my sailing boat was pretty tiny. It is 2cm square.


It is in the kiln now, cooling down. I am very excited that it seems to have kept all its details after fusing.

I made this cat using glue to hold it in place and some glassline paint for the face. I will fuse it tomorrow. I am experimenting with the heart on top of the overlay layer. I am hoping it won't cause too much distortion  on the vertical edges. The bit of extra volume in that one place may cause a bit of a bulge to the left and right of the heart.


Here are some drawings I made.


Saturday, July 20, 2013

More buttons test

This was done on program 1 full fuse.

Neville tried 3 layers of 2mm all one colour with the corners all skew. The plan was to make a circle but there were little bumps all around.

The dichro buttons had the corners ground off one set and the other three were just squares set square.

The little earrings had 3mm cover set skew. They did not turn out circular.


The black blob was a white base with 4 little black squares with a narrow space between them and a clear top. The black squares just melded together.

We plan to test the earrings with the 3mm top square on and the dichro ones as squares placed squarely and the top a bit bigger than the dichro base.

Friday, July 19, 2013

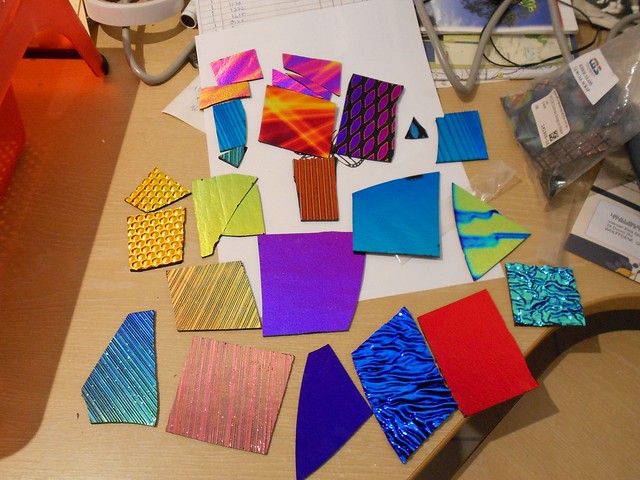
Dichroic samples, buttons


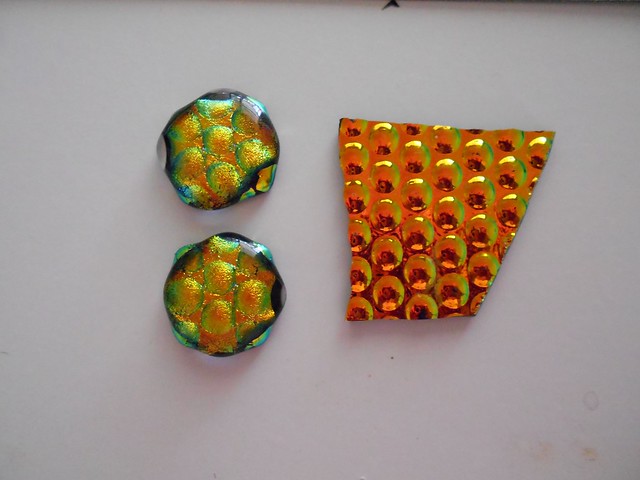
Scrap dichroic 1.5cm square with a clear top. Offset squares did not make a nice circle. Probably a bit too big.
Program 1, full fuse

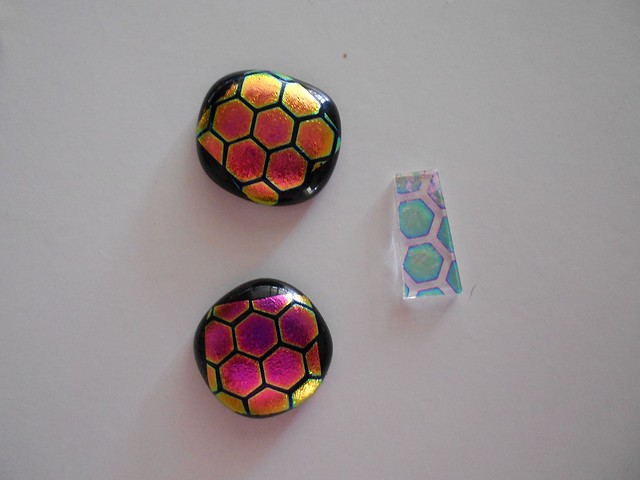
Scrap dichroic. 1.5cm square off set on a black base square. Maybe we got this upside down. The foil seems to be on top.
Program 1, full fuse

dichroic scraps cut in a 1.5 cm square layered on a black base. Maybe we got the dichroic upside down. The large squares off set did not make a circle.
Program 1, full fuse firing


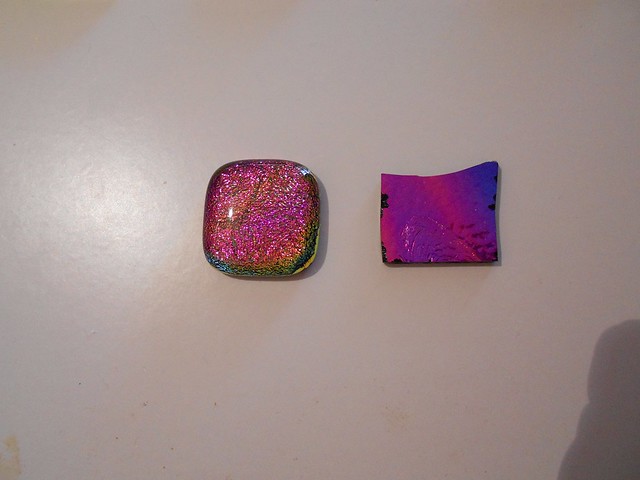
scrap dichroic in 1.5cm square with clear top. Layered squarely.
Perhaps the top could overlap a bit more so the line around the edge does not happen.
Program 1, full fuse

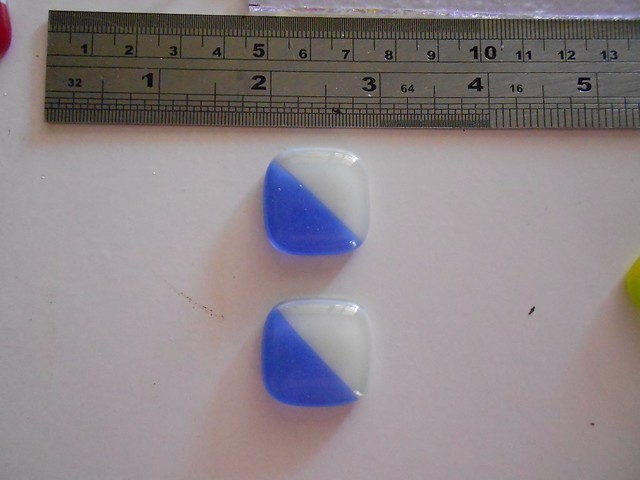
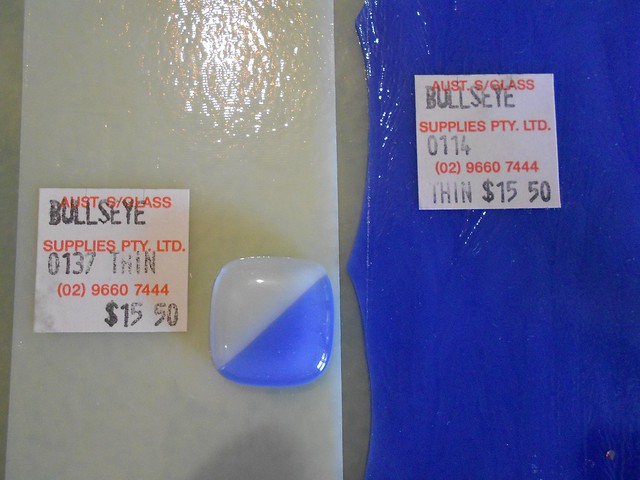
Blue and almond buttons


2cm square. 3 layers of 2mm thick glass. Clear base, coloured layer, clear top.
Program 1, full fuse firing
Bullseye thin
Blue - 0114 Almond - 0137


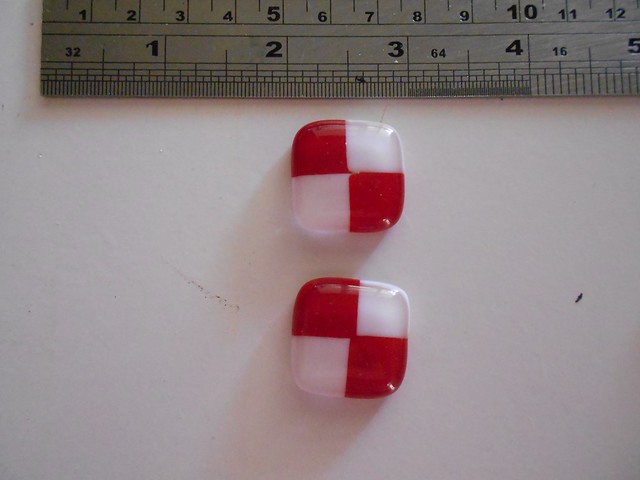
Red and white buttons


2cm square. 3 layers of 2mm thick. Clear base, coloured checks, clear top
Fired on program 1 full fuse
Bullseye thin
red - 0124 white - 0013